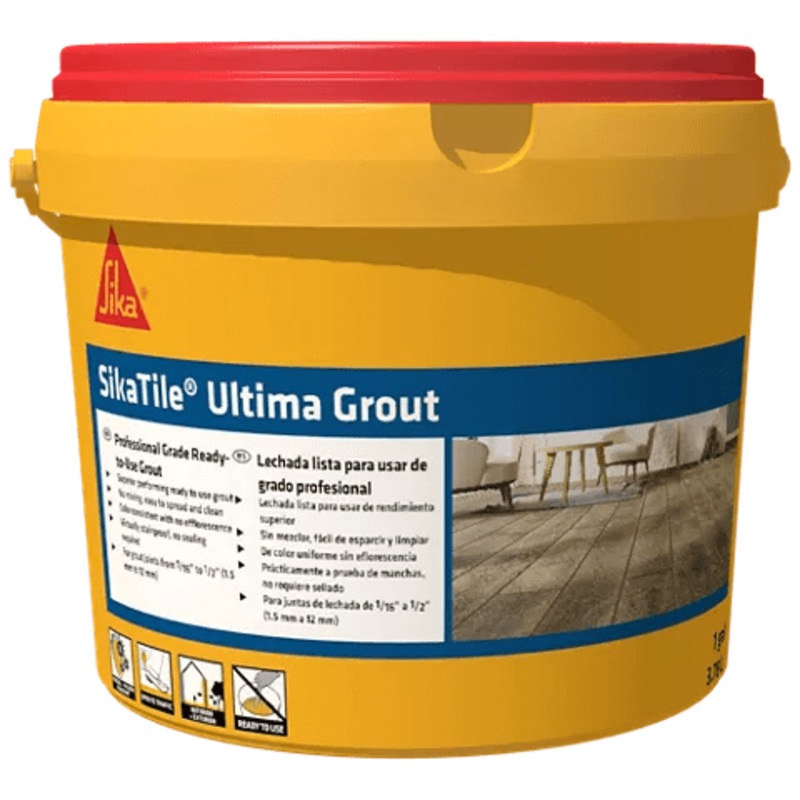
SikaTile-Ultima Grout is a professional-grade, ready-to-use grout designed for commercial and residential installations.It is suitable for porcelain, ceramic, natural-stone tiles, glass tile, Gauged Porcelain Tile Panels and Slabs (GPT), luxury vinyl tile
It is suitable for porcelain, ceramic, natural-stone tiles, glass tile, Gauged Porcelain Tile Panels and Slabs (GPT), luxury vinyl tile (LVT), and luxury vinyl plank (LVP). SikaTile-Ultima Grout can be used for interior and exterior applications, including intermittent wet conditions such as bathtub surrounds, shower walls, and shower floors. Formulated with colored quartz technology, it ensures color consistency, excellent stain resistance, ease of cleanability, and improved workability. This grout does not effloresce and does not require sealing. It is designed for grout joints from 1/16″ to 1/2″ (1.5 to 13 mm).
1 Gallon (3.78 L) Pail
Available in 14 colors. Refer to the SikaTile grout kit or color card for actual colors.
Sika is committed to environmental responsibility in both products produced and manufacturing practices. The use of this product can contribute towards LEED v4.1 certification:
American National Standards Institute (ANSI) ANSI A108.3*, A118.3*, and A118.6* of the American National Standards for the Installation of Ceramic Tile ASTM International (ASTM)
Read all installation instructions before installation and reference ANSI A108.10-1999. Slightly moisten the tile surface with a damp, rounded grout sponge just before application. Force the grout into the joints with a medium-to-hard rubber float held at a 45-degree angle to the tile surface. Ensure all joints are full and free of voids and gaps. Remove excess grout from the tile surface, holding the float at an almost 90-degree angle and moving diagonally to the joints while the grout is still fresh. Ensure the grout surface is flush with the tile edge. After grouting, replace the protective coated inner lid in the pail by pushing down until it contacts the unused grout. Tightly close the plastic lid for reuse.
Cleaning should begin after the surface begins to dry and skin-over, usually within 5 to 10 minutes, depending on ambient conditions and tile porosity. Grout areas between 25 and 40 sq. ft. (2.3 to 3.7 m) at a time to ensure cleaning begins before the grout dries on the tile surface. Use a damp, rounded grout sponge to move across the tile surface in a circular motion to loosen grout and shape the joints. Drag a clean, damp sponge diagonally across the tile joints, applying light pressure. Rinse the sponge after each pass and change the water bucket frequently to prevent haze formation. If grout residue remains, perform a final wash about 1 hour after the initial wash using clean water and a white, damp nylon scrub pad.
After 24 hours, the grout installation can be cleaned with clean water. Acid cleaning is not recommended.
All expansion, control, construction, cold, saw-cut, isolation, contraction, and seismic joints in the structure should continue through the tilework, as specified per TCNA Method EJ171 or TTMAC Specification Guide 09 30 00, Detail 301MJ.
Do not disturb grout or walk over installed tiles for at least 24 hours after setting. Avoid heavy traffic for at least 72 hours. For residential showers and tub surrounds, restrict use for 72 hours after grouting. Prevent dirt or debris from embedding in the grout joints during curing.
Sealing is not required. Grout must fully cure for 21 days before regular cleaning. Use a neutral-pH cleaner for maintenance, followed by a clean-water rinse. Avoid harsh chemical cleaners. Remove or rinse fatty acid residue from the grout surface to prevent potential deterioration.
Clean tools and tile with water before the material dries.


Copyright © 2025 .All Rights Reserved.Powered by www.arcbladesk.com
Reviews
There are no reviews yet.